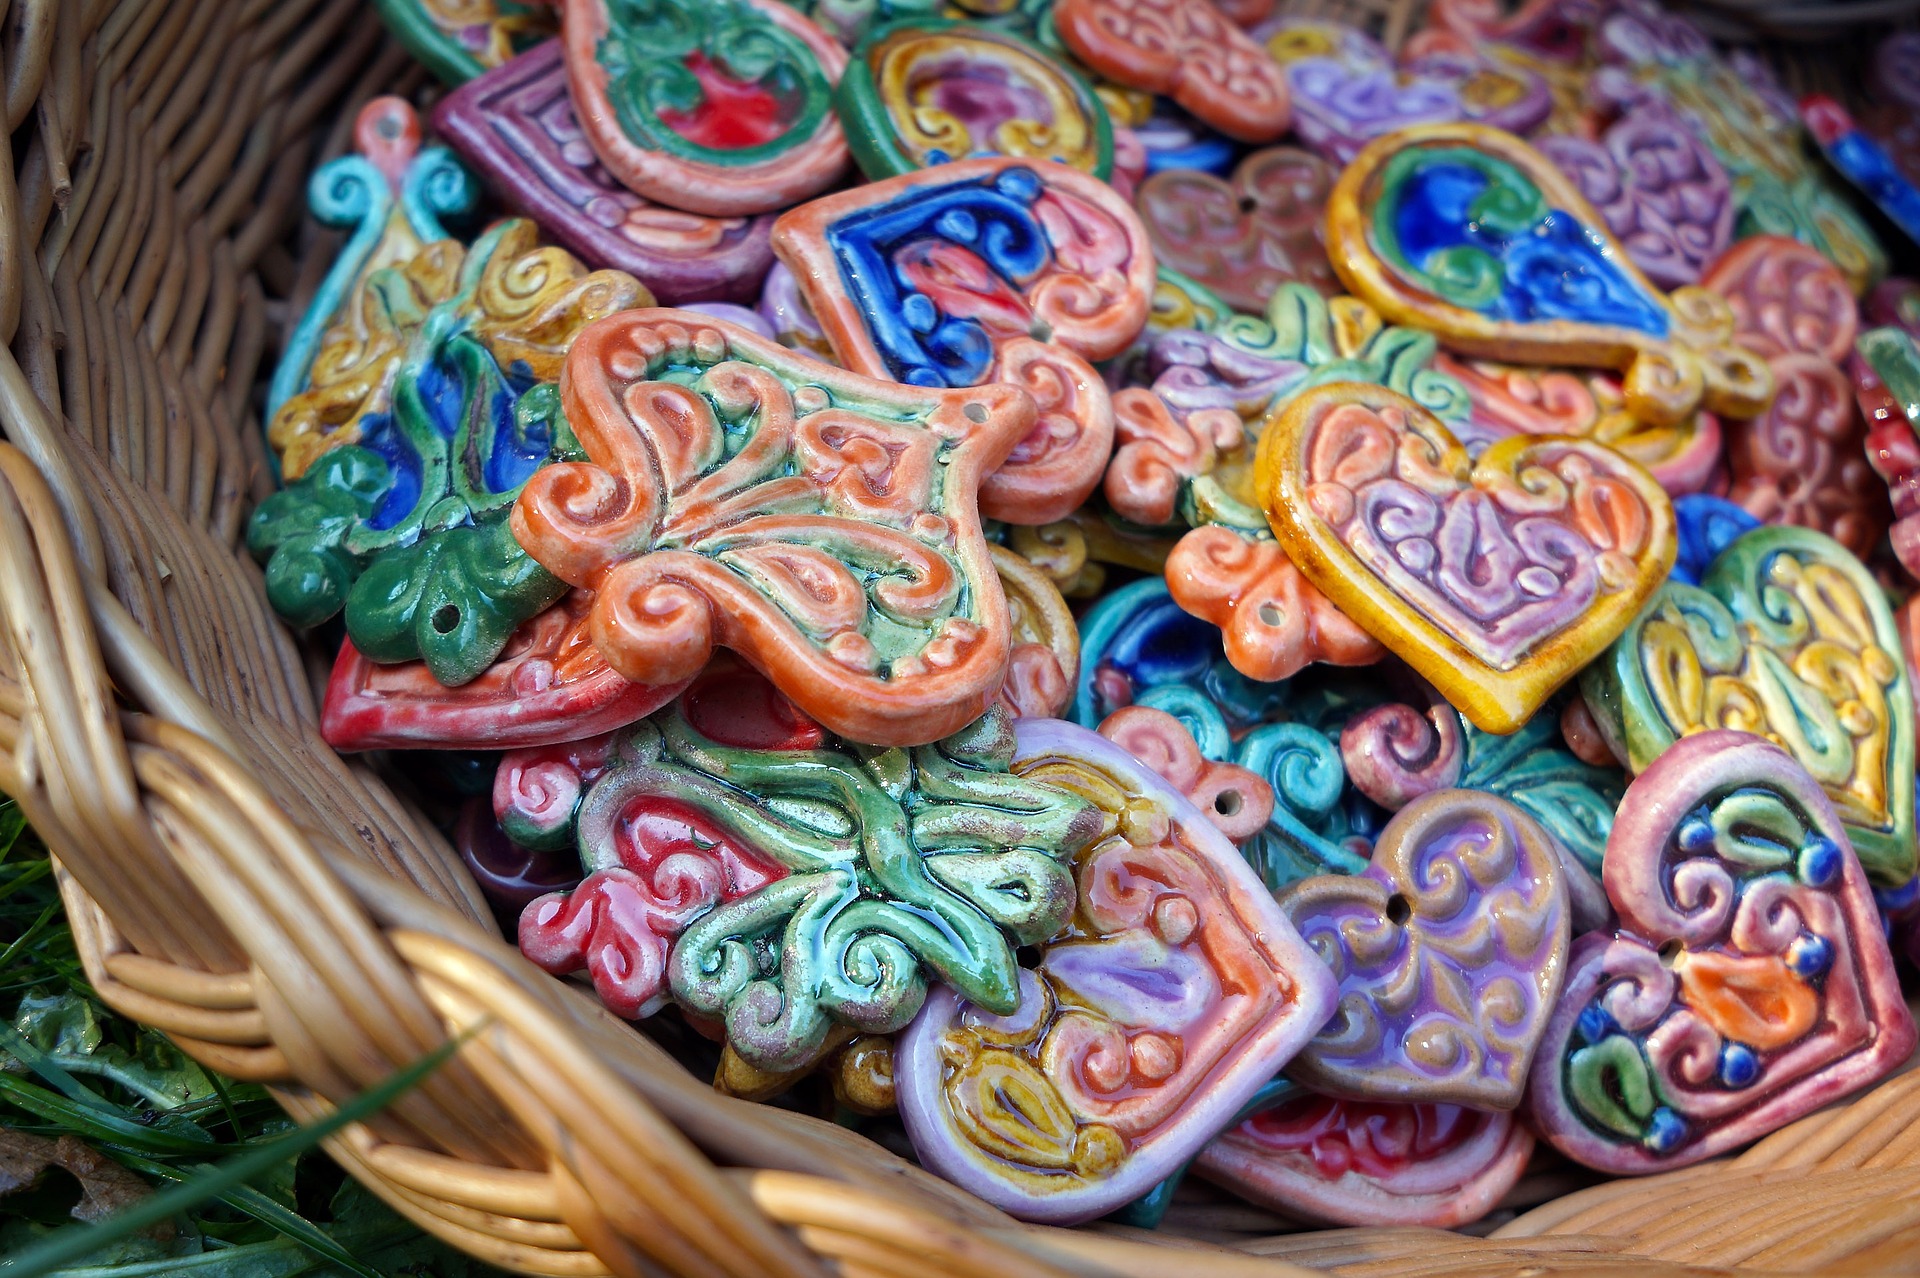
Spotlighting can add a touch of drama to your images, but it doesn’t work with all types of crafts. This lighting technique can easily be used with matte and flat-surfaced work, while shiny surfaces can be nightmares to get just right.
Let’s start by looking at how to create a circle of light in the darkness; the simplest way is to use a snoot over the light’s reflector housing. The snoot is simply a tapered metal cone that fits over the light and creates a small circle of light instead of a large area of diffused light. With your object on a black background, the circle of light will appear as a light gray area without well-defined edges. For a tighter circle with a better defined edge, you need to use a spotlight (a light source with some sort of lens in front that focuses the light into a better circle). You can get all sorts of spotlights, and for small jewelry pieces I’ve found that you can successfully use focused halogen table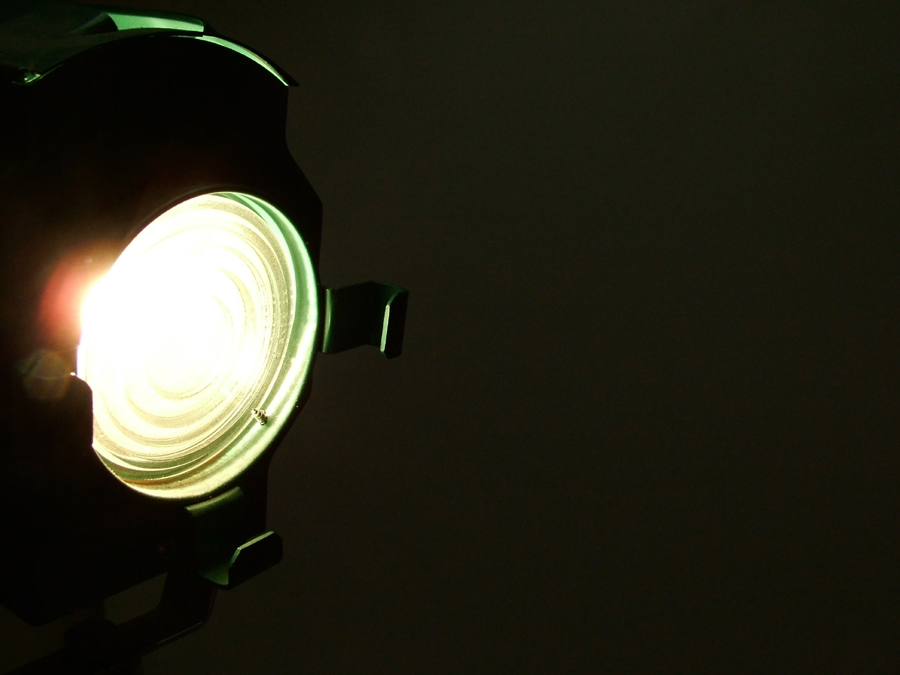 lamps for this effect.
Both a snoot and a spotlight produce harsh, hard light. This type of light works well with matte surfaces but is not the kind of light to use with shiny or metallic finishes. The spotlight produces hard, bright glare spot—essentially ruining your image.
Additionally, these highly directional spotlights create deep shadows that record without details. To soften these, you need to bounce light into them. You can do this several ways. One simple option is placing white cardboard “reflectors” around the object, just outside the picture frame. Or you can crank up the “ambient” light level by adding a second light bounced off of an umbrella aimed at the subject. Move the second light until you can clearly see the circle of light against the background. Move it until the background quite a bit darker than the circle of light.
Other methods of creating a circle of light are more complex. They require a lot of adjusting and fussing but produce lovely results. One of these more tedious methods requires using a large panel of translucent white acrylic or a “shooting” table with an acrylic surface. Support the panel about 30 inches or so above the floor (with a shooting table, the surface is already at this height). Next, place your work in the center of the panel or table. Place the spotlight or “snoot” light under the table. Warning: Never place tungsten lights directly on the floor—they get very hot. The safest way to use one of these lights is to attach it to light stand legs or a small tripod. Make sure that the light (or the end of the snoot) is as far from the acrylic as possible. Turn the light off often to give it—and the panel—a chance to cool off.
Adjust the diameter of the circle by moving the light up and down. Since this is an under light, it creates a circle of light without illuminating the work—you’ll still need to light the work from above. The trick then is to set up this light or lights so that the work is well-lit but the circle of light is not washed out.
Another, perhaps simpler way to create a circle of light is to place your work on a dark, shiny surface. For the photo at ____, I used a piece of ¼-inch-thick black acrylic as my background. I set the acrylic background on a table and inclined it toward the camera at a slight angle. I used a spotlight, but a snoot on the reflector housing would have worked just as well. I pointed the light toward the ceiling so the 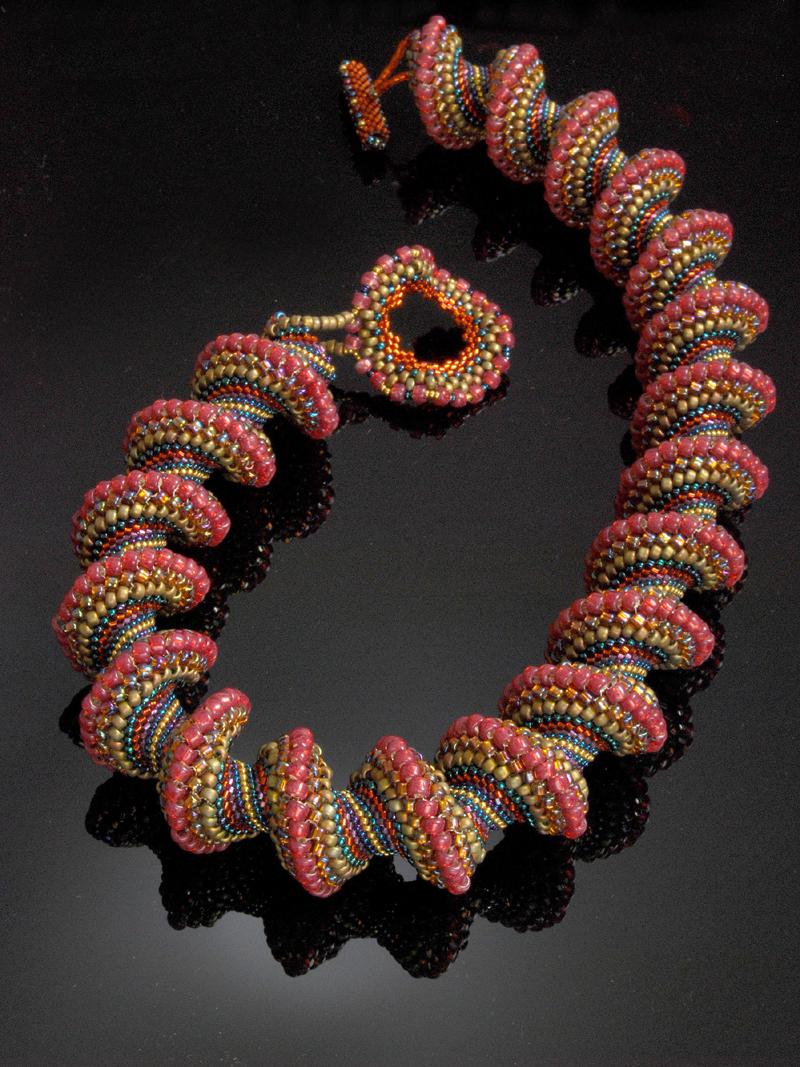 circle of light would be reflected on the acrylic panel. I placed the necklace on the acrylic and focused the camera on it. Then I turned on the spotlight and turned off the room lights. Looking through the viewfinder, I watched the position of the reflected circle of light on the acrylic surface. I moved the light until the light projected on the ceiling was just over the necklace. Then, while looking through the camera viewfinder, I moved the camera until I was sure that the reflection of the circle of light on the ceiling surrounded the area I wanted illuminated.
Notice that in the photo I positioned the light so that only a section of the necklace was lit. I did this by changing the height of the light stand. Raising the light toward the ceiling made the circle smaller. On the other hand, moving the light away from the ceiling made the circle bigger (completely surrounding the piece with light). For this piece I felt the smaller circle was more dramatic and worked best.
Because this light is bounced off a smooth white surface, it is very soft and will work well with both matte surfaces and most glossy surfaces. Polished or mirrored surfaces with still show glare, but otherwise most glazed or shiny metals will look great.
If you are lighting a piece the way I lit the necklace, you need to pay attention to the difference in the intensity within and outside of the circle of light. If the difference is more than two stops, the area outside the circle of light will be too dark. As with the spotlight, you can increase the ambient light level to lighten the “uncircled” areas.
Each of these techniques can be used to give your photos a little bit more punch, but they don’t work in all cases. When you plan to photograph your work for a jury submission, you want to have some consistency in the images. If all the pieces you are photographing can be done with spotlighting, it makes sense to use it. If not, don’t! Mixing styles of lighting, and thus the “look” of the different pieces, weakens the submission.